Prototyping (1)
Working with Anne on lamp project
Saturday and Monday, Day 3rd & 5th
Before we had started with the prototyping process, I presented all my design concepts to Anne. These were generated after our first meeting; taking in consideration the most important aspects, such as the ease of the execution to make them more feasible, making sure they can be developed and accomplished within my stay in Poland.
1st Concept
Large traditional lampshade with decorative patterns inside (exhibited by using the mirror on the floor). Made from one piece of leather where two ends are joined by delicate handmade stitch. Coming together with smaller sets of different sizes lamps or twin lamps (inspired by traditional vessel dwojak) which would have a pattern on the outer surface.

* As a result of many discussions and overall feasibility, I found difficulties in shape formation coming from the material properties. This idea was withdrawn from the potential designs.
The set of 3 small lamps in different sizes and lampshade shapes; created from one or two pieces of material with playful and characteristic for each one pattern design (2 x simple & geometric and 1 x decorative &organic)

* too many varieties that would require prototyping, what will effect on time management, and the ability to complete this project on time.
3rd Concept – Final Outcome
Inspired by the process of making kierpce shoes.
Kierpce [mountaineer moccasin] are made of a single piece of leather saw manually together by decorative stitch, these characteristics I wanted to reflect on this particular design. The intention is to have them as a set of 3 with different sizes.

I have chosen this design since it is the most feasible to produce. It fully reflects the most to the processes well known by the craftsmen, and it’s a clear reinterpretation of making kierpce (moccasin’s). Moreover, it creates an open space to let the air go through the lamp, preventing it from overheating while keeping a safe distance between the bulb and leather.
Designing the pattern
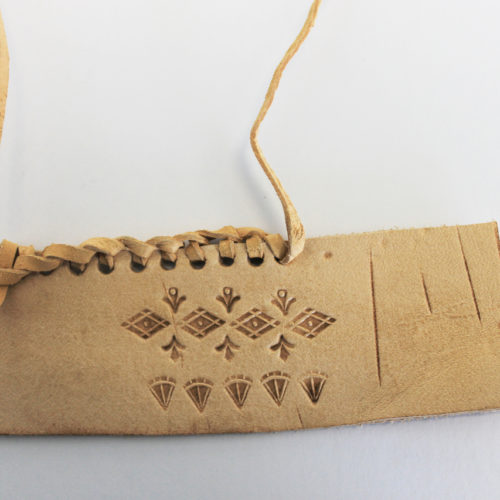
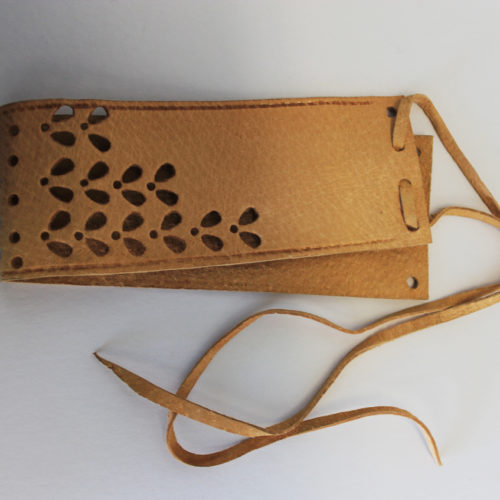
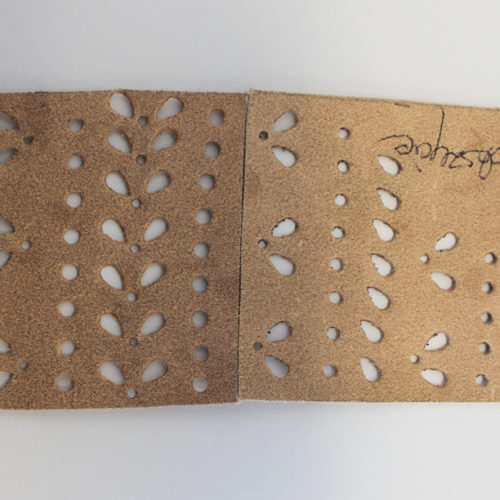
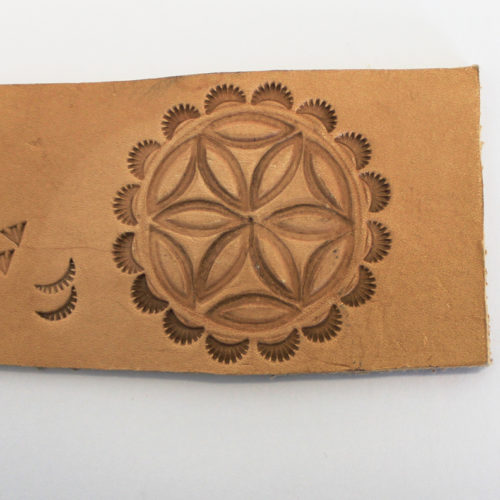
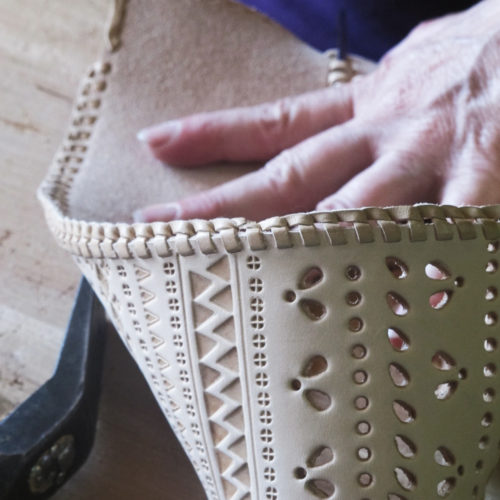
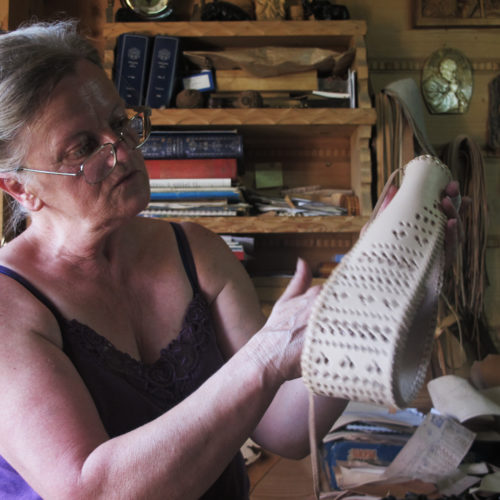
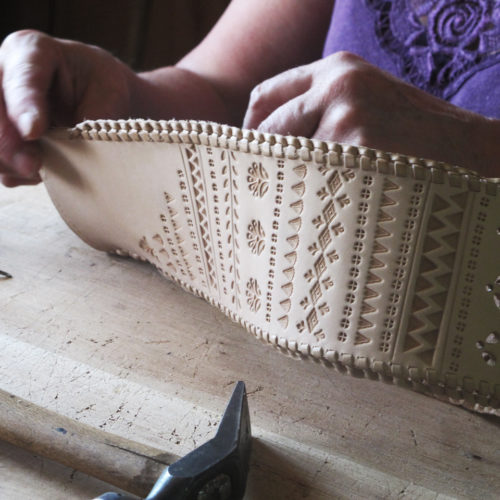
Creation of the pattern played an important role in the lampshade prototyping process as it is not only a decorative addition but it tells the story. It gives the object an extra function and let the light go through the cutouts, creating an interesting atmosphere and a play of shadows.
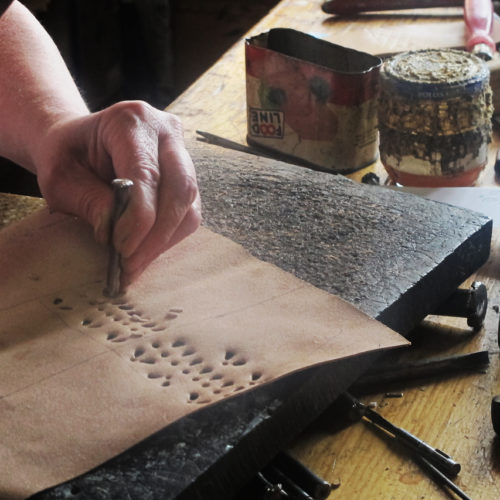
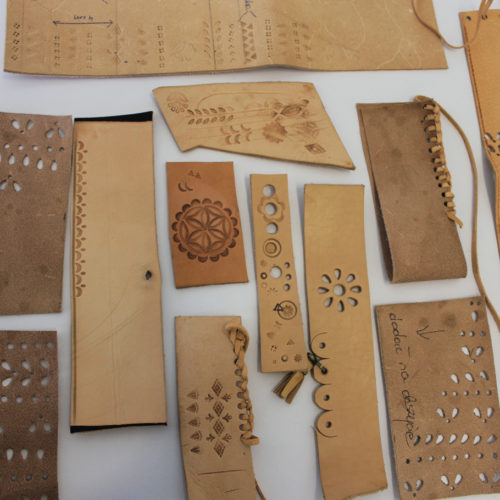
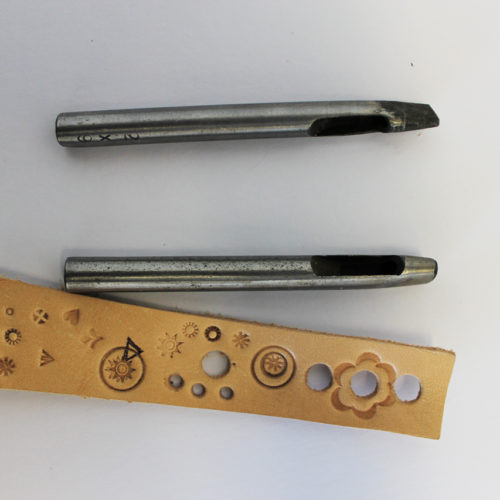
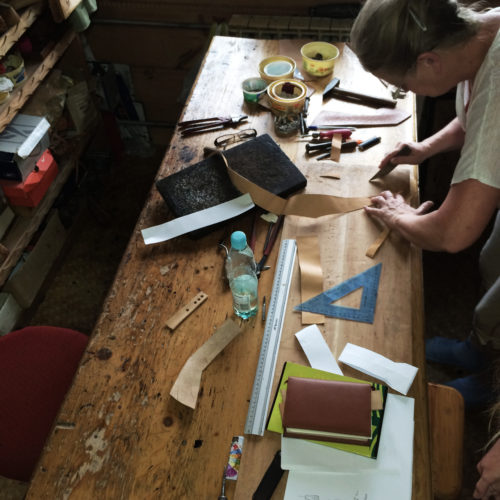
On the first visit, I decided to document possible patterns, and tools used by the artists. The series of photographs allowed me to look at different pattern possibilities and create a draft of the ones I liked the most.

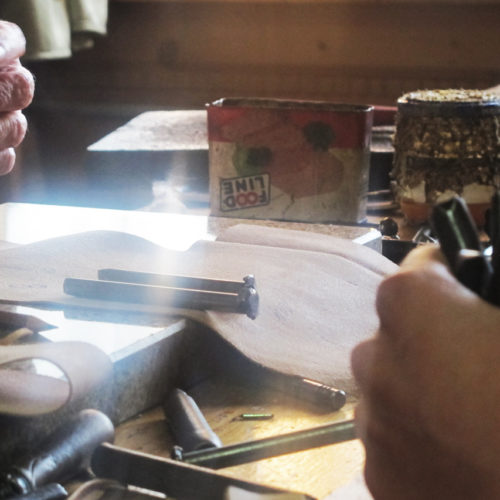
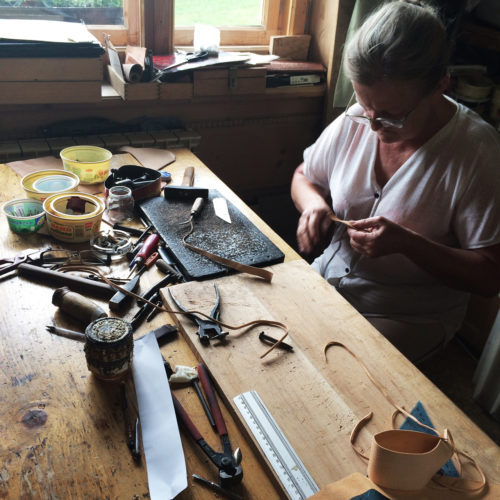
The collection of stamps and hole punches that the artists own is enormous, what creates an unlimited configurations.
In this craft technique there is no right or wrong for the pattern development, it can be everything that reflect the maker’s feelings, current inspiration, depending on the craftsmen’s imagination and where is going to take them. There are also no templates or design models, although there are few methods of combining some of them together based on the idea of repetition and symmetry.
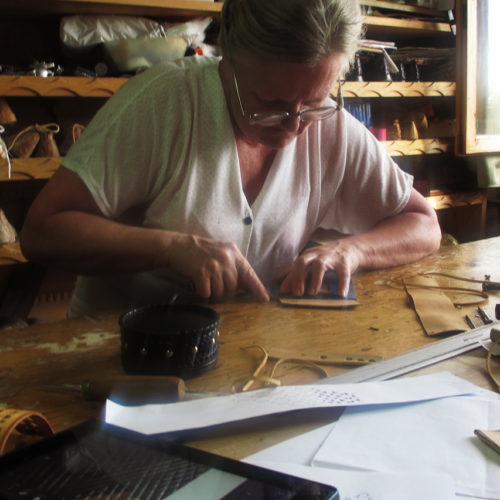
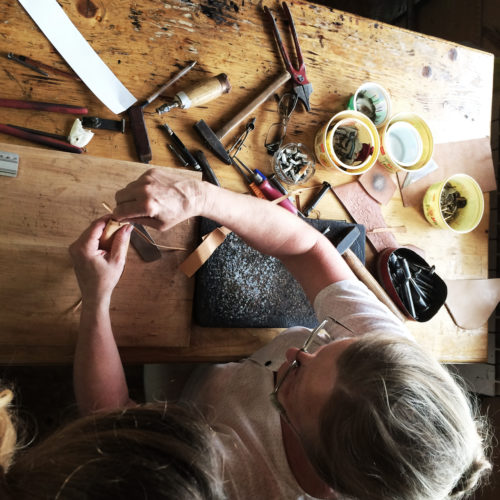
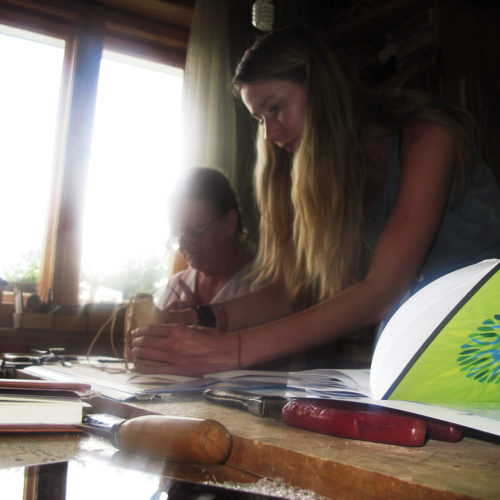
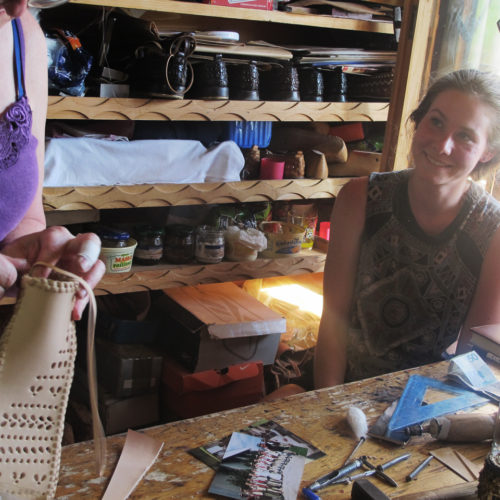
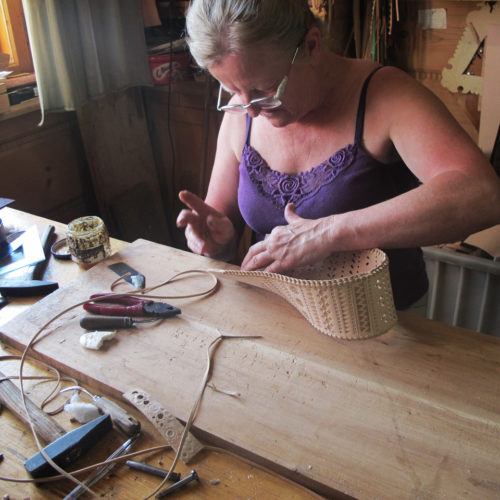
As I do not have an experience in pattern design I felt really happy to work on it together with Anne. This has consumed a lot of our time; picking the right stamps that will not effect on being too busy. We had to find a compromise between my modern approach to design and traditional way of making it, without loosing its charm and connection to tradition.
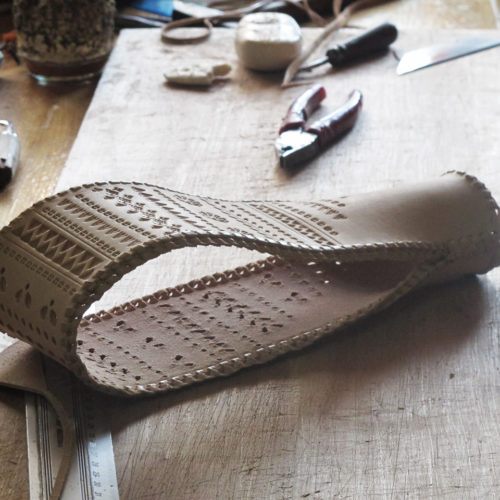
We followed my sketch of placing the pattern in an asymmetric way that would break up with the simple lampshade form; showing at the same time its transformation from the stamps to the holes (cutouts) and allow for the different experience while it lights up

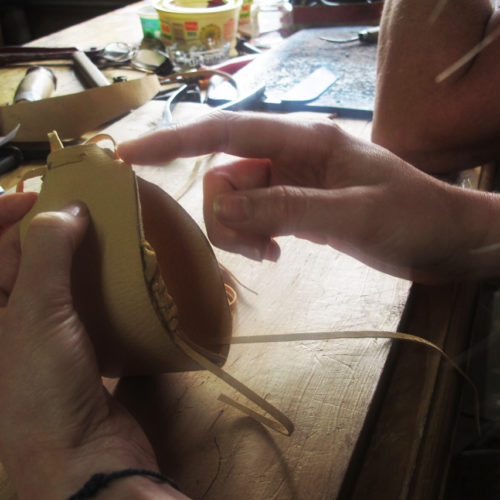
This long process of design was also dedicated to looking into the right stitching.
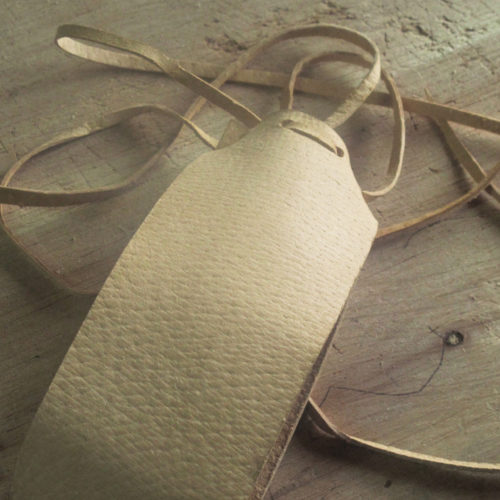
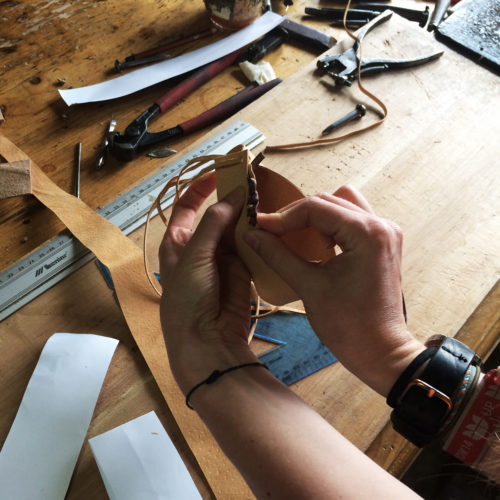
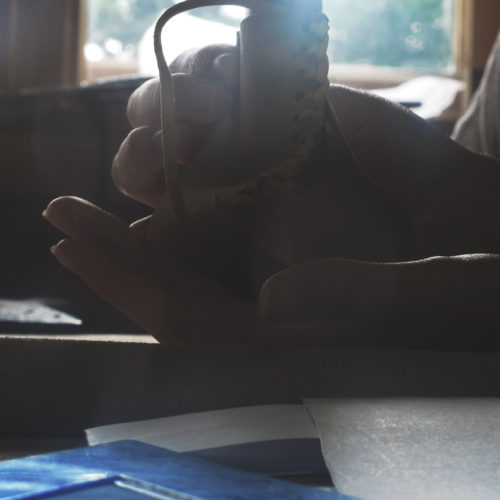
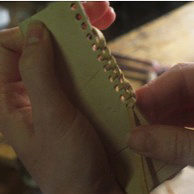
For joining two ends together, there was a need to choose the solid stitch that will result in their strong connection, leaving the gap for the lamp holder and bulb fixing.
Whereas the raw corners of lampshade I have decided to finish with more sophisticated but still decorative stitch that would match to the previous one that was used.






Leave a Reply